Hardness Testing
After completing the heat treatment process, parts then undergo hardness testing. These tests help measure wear resistance, strength, and more. One part from the batch is washed and dried, and then the scale (the coating of iron oxide that forms on the exterior of parts after forging) is removed using a grinder. The clean surface is now ready to undergo hardness testing. We use two different methods to test the hardness of the parts, the Rockwell method and the Brinell method.
Rockwell Method
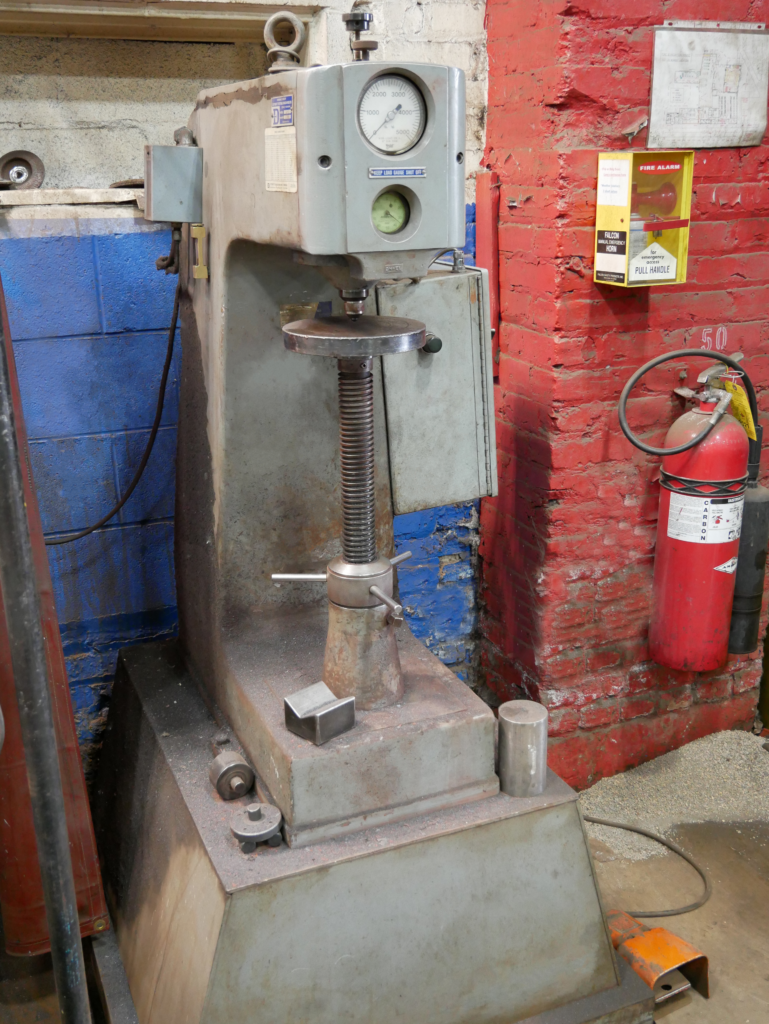
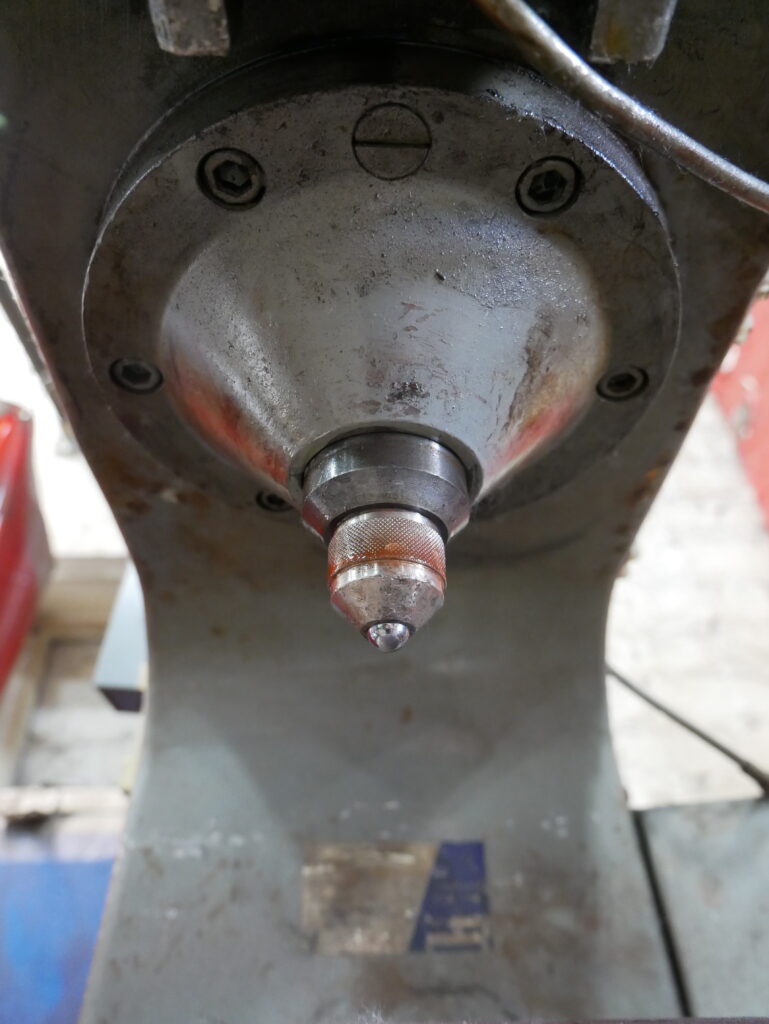
The Rockwell Method is the most accurate of the two methods we use, but not every part is eligible to have this test performed on it. The machine measures hardness by applying pressure to the clean surface of the part and determining the depth of indentation. Either a diamond or a ball indenter is first selected, depending on how hard or soft the metal is. The indenter is lowered onto the part, and pressure gradually increases until maximum depth is reached. The screen will display a reading with the result, which is then compared to the part’s specification. This reading will help to determine the next steps for this part.
 |
 |
 |
 |
Brinell Method
To perform the Brinell Method, a two-step process is done. First, a spherical ball is lowered onto the part and an impression is made. Then, the diameter of the impression is measured using a microscope. This leaves some room for human error, as all measurements are done by hand.
 |
 |
 |
 |
Key Differences
Rockwell Method |
Brinell Method |
|
|
|
|
|
|
|
|
Next Steps
Once the testing has been completed, the results are checked against the item’s specifications, which determine what will happen next. If the results fall within the criteria for the item, the rest of the parts will undergo the same heat treatment process as the initial ones did. If the results fall outside of the parameters, a calculation is performed to make adjustments to the heat treatment process.
